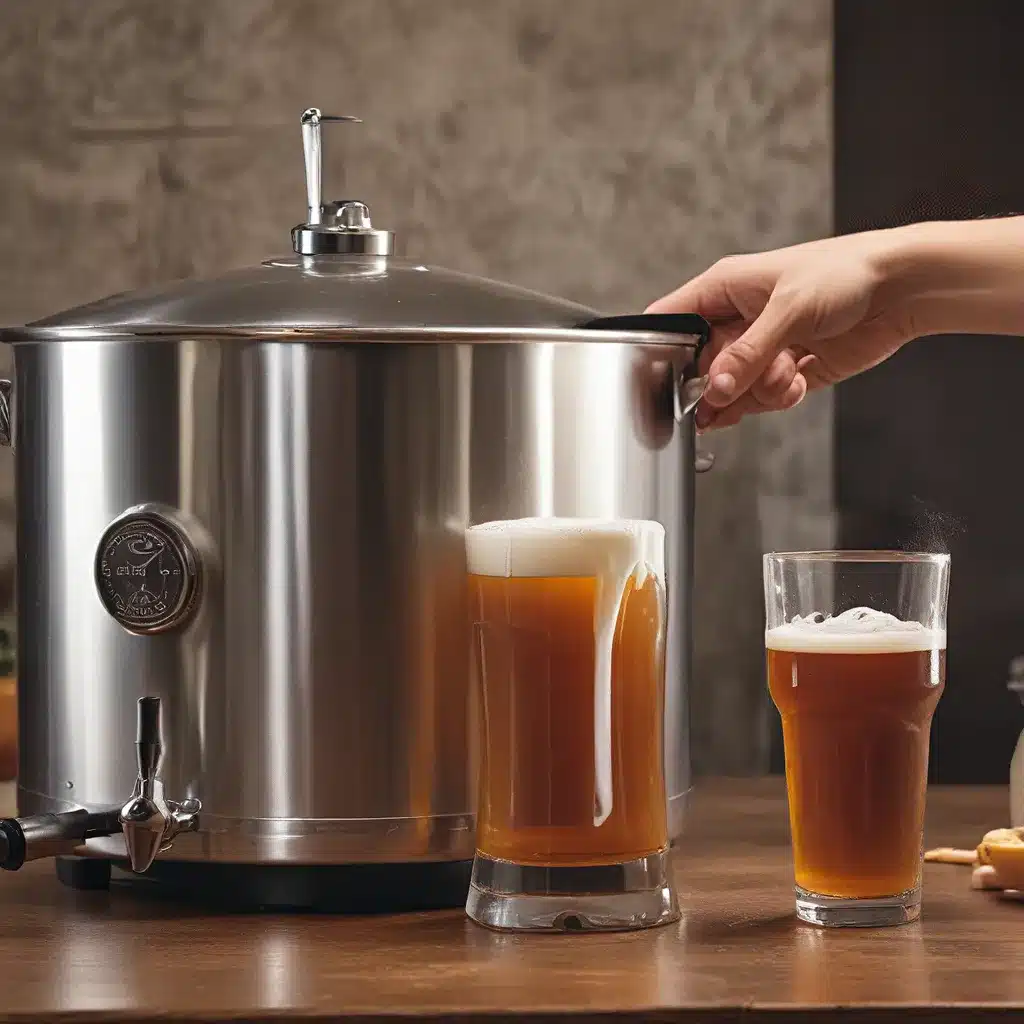
Ah, the eternal debate – to keg or to bottle? As a proud homebrewer, I’ve been on both sides of this age-old conundrum. While the kegging camp may scoff at the “labor-intensive” bottling process, I’m here to tell you that there’s a certain beauty and satisfaction in watching that perfect pffft as you crack open a bottle of your own homemade nectar.
The Science Behind Bottle Conditioning
Now, I know what you’re thinking – “But the yeast! The sugar! The temperature! It’s all so complicated!” Well, fear not, my fellow brewers, because I’m about to break it down for you.
The Yeast: The backbone of any good bottle conditioning operation. Without enough viable yeast, your beer will be as flat as a pancake. Now, if you’ve had a nice, healthy fermentation, you should be golden. But if you’ve been experimenting with those highly flocculent strains or letting your beer age for too long, you might need to give your yeast a little boost. A simple pitch of fresh yeast can work wonders, just like the pros do.
The Sugar: Ah, the elusive priming sugar. This is what’s going to turn your flat beer into a bubbly delight. Now, you can get all scientific with your calculations and use those handy-dandy nomographs, or you can just go with the good old “3/4 cup of corn sugar per 5 gallons” rule. But if you really want to get creative, feel free to experiment with honey, malt extract, or any other fermentable sugar that catches your fancy.
The Temperature: Remember, yeast are like little party animals – they love a good time, and by “good time” I mean a nice, cozy 68-80°F environment. Stick those bottles in a warm spot, and you’ll be hearing that satisfying pffft in no time.
The Time: Patience, my friends, is the key to perfect bottle conditioning. Give it 2-4 weeks, and you’ll be rewarded with a beautifully carbonated brew. Different sugars may take a bit longer, but trust me, the wait is worth it.
Mastering the Art of Bottle Conditioning
Now that you’ve got the science down, it’s time to put it into practice. Let me share a few of my top tips and tricks for mastering the art of bottle conditioning:
Tip #1: Cleanliness is Next to Godliness
I can’t stress this enough – your bottles need to be spotless. A single speck of dust or a stray hop can throw off the whole process. So, break out the old elbow grease and give those bottles a thorough scrubbing before you even think about filling them.
Tip #2: The Priming Sugar Shuffle
When it comes to priming sugar, don’t just dump it in and call it a day. Take the time to thoroughly mix it into your beer before bottling. This will ensure even carbonation throughout, and you can wave goodbye to those dreaded bottle bombs.
Tip #3: Bottle Hygiene is a Must
Just like your bottles, your bottling equipment needs to be squeaky clean. Sanitize everything, from your siphon to your bottle caps, to prevent any unwanted bacteria from crashing the party.
Tip #4: Timing is Everything
Remember those 2-4 weeks I mentioned? Well, don’t be tempted to crack open a bottle too soon. Trust the process, and let those yeasty little guys do their thing. But once you hit that sweet spot, start monitoring the carbonation levels and enjoy the fruits of your labor.
Bottling Versus Kegging: The Great Debate
Now, I know what you’re thinking – “But what about kegging? Isn’t that easier?” Well, yes and no. While kegging may be a bit more convenient, there’s something to be said for the humble bottle. For one, it’s a heck of a lot easier to share your homemade creations with friends and family when they’re in a nice, portable six-pack. And let’s not forget the pure satisfaction of that first sip from a bottle you conditioned yourself.
Plus, bottles are perfect for long-term aging, which can turn even the most basic brew into a work of art. Imagine cracking open a bottle of your imperial stout five years down the line – it’s like a trip down memory lane, with every sip bringing back the hard work and dedication you poured into that beer.
The Up and Under Pub definitely knows the value of a well-crafted, bottle-conditioned beer. With their extensive selection of local and regional brews, they’re the perfect spot to explore the world of homebrewing and find your new favorite creation.
Putting It All Together
So, there you have it – the ins and outs of mastering the art of bottle conditioning. From maintaining a healthy yeast population to perfecting your priming sugar technique, it’s all about paying attention to the little details. And trust me, when you crack open that first bottle and hear that satisfying pffft, all the hard work will be worth it.
Remember, homebrewing is all about experimenting and having fun. So, don’t be afraid to get a little creative with your bottle conditioning. Who knows, you might just stumble upon the next big thing in the world of craft beer. Cheers, my fellow brewers, and happy bottling!

