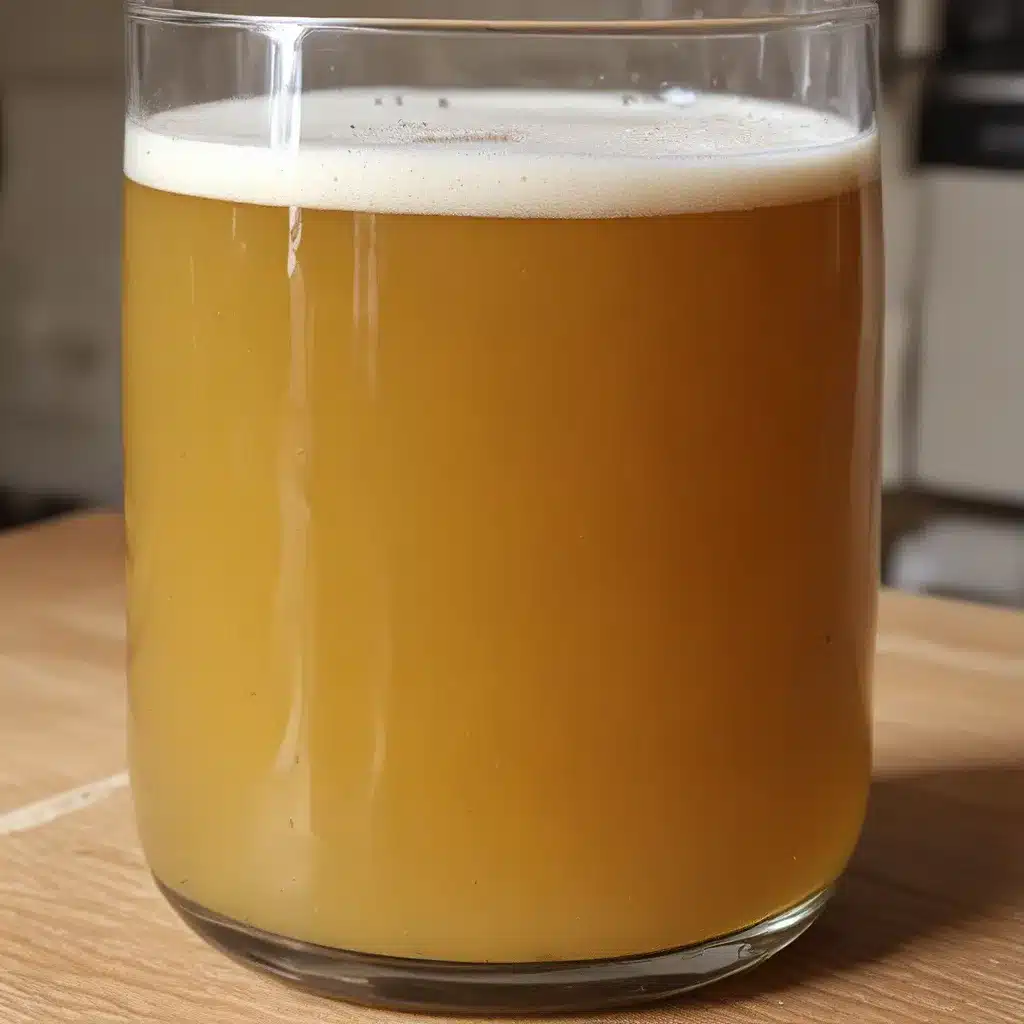
Ah, the mystical world of yeast – where tiny microbes hold the key to unlocking flavors beyond our wildest dreams. As a homebrewer, I’ve often found myself in awe of these invisible alchemists, coaxing out complex aromas and crisp finishes from the most unassuming wort. But what if I told you that with a little yeast wizardry, you can extend the life of your precious fermenters, saving time, money, and creating a one-of-a-kind brew each time?
The Importance of Yeast Reuse
Yeast is the heart and soul of any beer, and as homebrewers, we know that maintaining a healthy, happy yeast culture is crucial to our craft. After all, these microscopic marvels are responsible for converting fermentable sugars into alcohol and CO2, not to mention the myriad of flavor compounds that define our favorite styles.
The Up and Under Pub has long been a hub for homebrewers to share their passion and knowledge, and one topic that always comes up is the art of yeast reuse. You see, while it may be tempting to start fresh with a new packet of yeast for every batch, the reality is that you can often get multiple uses out of a single culture, saving you time, money, and creating a more unique beer in the process.
Reviving Dormant Yeast
One of the most common ways to reuse yeast is by reviving a dormant culture. After a fermentation is complete, you’ll often find a creamy, thick layer of yeast sediment at the bottom of your fermentation vessel. This yeast, while seemingly inert, is actually just resting, waiting to be awakened and put back to work.
To revive this yeast, start by carefully decanting or siphoning off the finished beer, leaving just the yeast cake behind. Gently rinse the yeast with some cool, sterile water, being careful not to disturb it too much. Then, simply pitch the yeast into your next batch of wort and let the magic happen.
I’ve found that this method works particularly well for ales, where the yeast is typically more flocculent and easy to harvest. Lager yeasts, on the other hand, can be a bit trickier, as they tend to be more powdery and harder to separate from the beer. But with a little extra care and attention, you can still get great results.
Repitching for Consistency
But the fun doesn’t stop there! Once you’ve got a revived yeast culture, you can start to think about repitching it for future batches. This is where the real yeast wizardry comes into play.
By repitching the same yeast strain over and over, you can create a unique house flavor that carries through your beers. Imagine the possibilities – a rich, malty stout with a subtle, fruity ester profile, or a crisp, clean lager with a touch of that classic lager “bite.” The key is to maintain the health and vitality of your yeast, carefully managing things like pitch rate, temperature, and oxygenation.
It’s a delicate balance, to be sure, but the rewards are well worth it. Not only will you save money on yeast costs, but you’ll also be able to tweak and fine-tune your recipes, dialing in the perfect flavor profile for your personal tastes.
Mastering the Art of Repitching
Of course, repitching yeast isn’t as simple as just dumping the sediment into your next batch. There are a few important considerations to keep in mind:
Pitch Rate: Ensuring you have the right pitch rate is crucial for a successful repitch. Too little yeast, and you risk slow fermentation and off-flavors. Too much, and you could end up with overly attenuated, thin-bodied beers. As a general rule of thumb, aim for about 0.75 to 1.5 million cells per milliliter of wort.
Yeast Health: Before repitching, take a close look at the yeast cake. Is it thick and creamy, or thin and watery? Does it have a fresh, yeasty aroma, or does it smell off? Healthy yeast should be vibrant and free of any unpleasant aromas.
Generation Management: Each time you repitch your yeast, you’re effectively advancing it to the next “generation.” And just like with any living organism, there’s a limit to how many generations you can go before the yeast starts to show signs of wear and tear. Most brewers recommend limiting your repitches to 3-5 generations before starting fresh.
Oxygenation: Yeast need oxygen to reproduce and maintain their overall health. When repitching, be sure to give your wort a good aeration or oxygenation treatment to ensure the yeast has everything it needs to thrive.
Temperature Control: Just like us, yeast perform best within their ideal temperature range. For ales, that’s typically around 60-70°F, while lagers do best in the 45-55°F range. Maintain these temps throughout the entire fermentation process for optimal results.
The Rewards of Yeast Wizardry
By mastering the art of yeast reviving and repitching, the rewards are plentiful. Not only will you save money on yeast costs, but you’ll also be able to create truly unique, one-of-a-kind beers that reflect your personal touch.
Imagine a bold, roasty stout with a subtle hint of dark fruit, or a crisp, citrusy pale ale that tastes like it came straight from your favorite brewery. These are the kinds of beers that come from carefully cultivating and reusing your yeast, and trust me, the effort is well worth it.
So why not channel your inner yeast wizard and start experimenting? Who knows, you might just unlock the key to the perfect homebrew. And if you need any inspiration or advice along the way, you know where to find us – right here at The Up and Under Pub, where the magic of yeast is always on full display.
Happy brewing, my friends!

