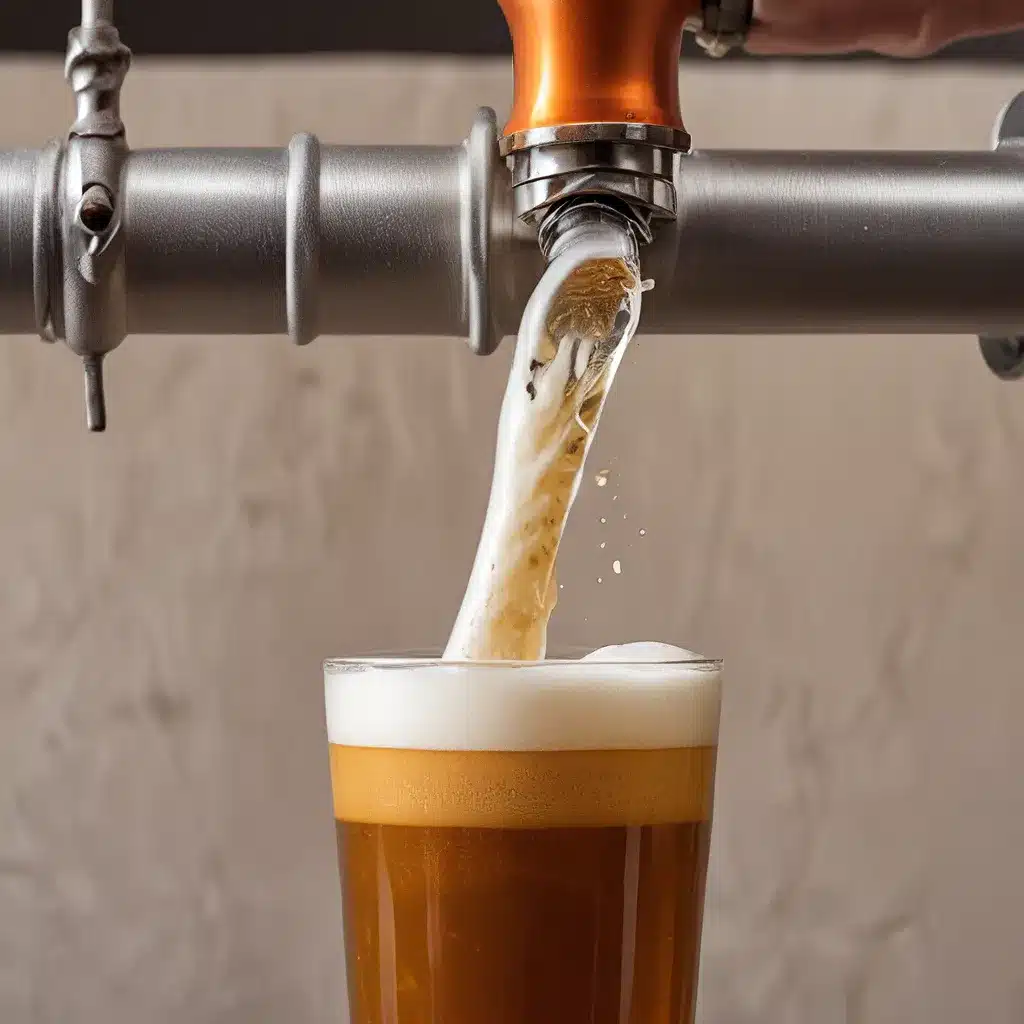
As a passionate homebrewer, I’ve had my fair share of experiences with the fickle nature of foam and carbonation. From gushing kegs to flat, lifeless brews, I’ve seen it all. But fear not, my fellow homebrewing enthusiasts, for I’m here to share my hard-earned insights on perfecting the pour and taming those foamy, carbonated beasts.
The Science Behind Foam and Carbonation
Let’s start by delving into the science behind these two key elements of a well-crafted brew. Foam, that delightful frothy topping, is the result of a complex interplay between proteins, sugars, and carbon dioxide. When the CO2 in your beer is released, it forms tiny bubbles that get trapped by those proteins and sugars, creating that creamy, mouthwatering head.
Carbonation, on the other hand, is the bubbling sensation that tickles your tongue and adds that refreshing zing to your beer. It’s all about the balance of CO2 dissolved in the liquid. Too much, and you’ll end up with a gusher; too little, and your beer will fall flat.
As the folks over at HomebrewTalk point out, the key to managing foam and carbonation lies in understanding the factors that influence them, such as temperature, pressure, and the chemical composition of your brew.
Taming the Foamy Beast
Now, let’s dive into the nitty-gritty of taming that foamy beast. One of the most common culprits of excessive foam is improper keg handling. When you first tap a keg, it’s normal to experience a bit of foaming as the pressure is released. But if the foam persists, it could be a sign of several issues.
Troubleshooting Foam Problems
-
Check your serving temperature: The colder your beer, the more CO2 it can hold in solution, which means less foam. Aim for a serving temperature between 38-42°F (3-6°C) for optimal results.
-
Regulate your pressure: Too much pressure can cause the CO2 to come out of solution too quickly, leading to a foamy pour. As the folks on BeerAdvocate suggest, you’ll want to balance the pressure across all your kegs to ensure a smooth, consistent pour.
-
Clean your lines: Built-up residue and bacteria in your beer lines can create nucleation sites, allowing the CO2 to rapidly escape and resulting in excessive foam. Regular line cleaning is a must for any homebrewer.
-
Adjust your pour: The way you pour your beer can also impact foam levels. Aim to pour at a 45-degree angle, start with the glass tilted, and slowly bring it upright as you fill. This gentle approach helps minimize turbulence and foaming.
Balancing Carbonation Levels
Achieving the perfect carbonation level is a delicate dance, but with a few simple tricks, you can master it. As the HomebrewTalk community suggests, one effective method is to use a carbonation calculator to determine the ideal serving pressure for your desired level of carbonation.
Another helpful tip is to allow your beer to condition for at least a week after kegging, as this gives the CO2 time to fully dissolve into the liquid. And don’t forget to check your keg seals and fittings – any leaks can cause your carbonation to drop over time.
The Art of the Pour
Ah, the perfect pour – the holy grail of homebrewing. It’s not just about the foam and carbonation; it’s about creating a visual masterpiece that tantalizes the senses and sets the stage for a truly enjoyable drinking experience.
Mastering the Tilt and Swirl
The key to a beautiful pour lies in the subtle movements of your glass. Start by tilting the glass at a 45-degree angle and slowly pouring the beer down the side. As the glass fills, gradually bring it upright, creating a gentle swirl that helps the CO2 release in a controlled manner, resulting in a thick, creamy head.
Letting the Beer Shine
But it’s not just about the physical pour; it’s also about the presentation. Position your glass on a coaster or tray, and make sure to leave a little space at the top for that glorious foam to showcase itself. And don’t be afraid to experiment with different glassware – the shape and size of the glass can greatly impact the overall appearance of your pour.
Embracing the Unpredictable
As any seasoned homebrewer will tell you, the journey of perfecting the pour is never a straight line. There will be surprises, setbacks, and the occasional “aha!” moment that leaves you grinning from ear to ear. But that’s the beauty of it, isn’t it?
So, my fellow homebrewing enthusiasts, embrace the unpredictable, learn from your mistakes, and never stop experimenting. Because when you finally nail that perfect pour, with its cascading foam and sparkling carbonation, the sense of accomplishment will be unparalleled. And let’s not forget the most important part – the pure joy of sharing that beautifully crafted beer with friends and loved ones.
Why not head over to The Up and Under Pub and put your newly acquired skills to the test? I’ll see you there, glass in hand, ready to toast to the art of the perfect pour.

